Monday, June 30, 2014

Scary Scary

So this weekend we were at the lake house, installing a two stage hvac unit in the bunk room.  I will post that when we finish next weekend.  We had a late start.  Because my 12 pound rat terrier tried to take on a copperhead.  Well, actually he just sniffed it.

I wasn't there when it happened.  Gary came in the house and said that Rocky got hurt down by the lake in the tall grass that his nose was bleeding.  I went outside and looked.  He was a zombie and the moment I saw the wound I knew what it was.  I didn't get any photos of the wound  (I was a little busy trying to find a vet in the area open on a Sunday), just two small puncture wounds on the top of his nose that were bleeding.  We found a vet rushed the 30 mins to get him there. 

Things that I learned.
1. More than 30% of pit vipers or venomous snake bites are "dry bites", who knows why. And a "dry bite" is not entirely dry.  There could be "drops" of venom in the fangs. Hence the smelling. That if he had gotten a full venom bite he would have been dead moments after the bite due to his little size.

2. That if it had been a rattle snake, any animal under 50 lbs doesn't stand a chance.  Heck a 200 lb man needs anti-venom within the hour to stand a chance. 


3. That infection at the wound site is the biggest fear on a "dry bite".  So antibiotics are a must.  an anti inflammatory, and pain meds are the cocktail given.

4. The most common venomous snake in Texas is the Copperhead,  What the vet thinks bit him. We don't know, no one saw it.  It was gone when we got back.  Gary cut all the weeds down.


but we also have rattlesnakes, 


cottonmouths (water moccasins), 


and coral snakes. (red touches yellow can kill a fellow) to know the difference between the harmless milk snake.  I just avoid them all.


5.  Keep tall grass mowed, that helps detour small animals from living in those areas, no food = no snakes.

6.  You really should know the area vets, if you have pets.  I did all the hospital research when we purchased our lake house.  I did not do the "four" legged doctor searches.  Trust me that was a scary moment not finding a vet within an 1.5+ hour drive.  When the local vet answered his emergency line I almost jumped through the phone.

My poor baby recovering.


His entire head, face, jaw, and jowl are swollen.  His bite site is on the top of his nose.  If it would have been just a garden snake there would have been no swelling.


Here's to feeling better.  I'll let you know when the swelling is completely gone.  A check with my local vet says that he is on the right treatment plan and no need to see him, unless he develops a problem.

Happy recoverings.


Thursday, June 26, 2014

Oh baby girl...

My oldest daughter asked me to do another dresser.  I said okay.
Because I am a sucker..

Sorry that is the only photo I have the "starting" dresser.   I loved the lines and could totally see the finished product.  My daughter was concerned.
When we purchased the lake house I took the "old" master bedroom set to the lake for that master bedroom.  This bedroom furniture when in the back bedroom for my daughter leaving me an empty room to work on this dresser or other projects, instead of having them spread out in my living room.  To my defense when I was doing the purple dresser the living room was empty.  That furniture went to the lake house.  The "man" asked if I wanted new furniture for home.. (well, duh)  Who turns down new furniture, and the Thomasville leather sofa is almost 15 years old.  That has been a great sofa but for $4K is should last for years and years.  One thing that I have learned is that expensive furniture is not necessary and is actually not a great idea.  You get tired of it, and it is tooooo expensive to just toss out.  Get a nice mid range piece, they hold up and when you are tired of them you don't fell guilty getting rid of them.


Confession I did skip the primer and regretted it.  The drawers took three coats of paint to cover.  Some took four.  (don't ask, my bad)  The drawers are SW Lotus Flower.  The body is SW Frostwork.  I did sand this piece down and tack cloth the dust.


I painted the knob gold knobs with the green hammer paint.  They turned out great.


Here is the final product done.  Now to get it to my little peanut.  Ashley loves it.  It turned out great.  Quality paint really does make the job easier.


Miss Aria, she is her GiGi's(me) little peanut.  I am in love.  No grandbabies to two in three months.  I am in heaven.  This little love nugget was a big girl 8lbs 4 oz at birth. 


Happy babies...

Tuesday, June 3, 2014

LHB bar stools

The seller left a bar and bar stools in the basement.  He also left that TV and a 100 year old frig.  Okay it wasn't that old, but it was OLD.  A repair man took the TV for free, and the frig was hauled off when we purchased the new appliances for the kitchen.  The bar was trash and we hauled it to the dump.  Sadly I know where it is and  have seen the Corsicana dump.  But small confession I know where the Kansas City dump is as well.  When you can haul away a truck load of trash for $30, I can't pay for that to be done.  I know I am cheap, I confessed to that a long time ago.

Before. they are on the right side against the bar. U G L Y but free.

I took them apart, cleaned the bases and painted the black plastic with Krylon Fusion $5.98 for plastic choosing a blue, it actually matched pretty darn good.. Wrapped the black fabric with a fun cheery print. JoAnn's w/a coupon $4.99 a yard I got three yards.  It took the entire can of paint to do these 6 bases.  There are plastic cover plates as well covering the turning base on the bottom.  But I was surprised by how much paint it took.  I decided on no backs to make them seem less heavy in the space.  Now because I rarely toss anything. I wrapped each back in a kitchen trash bad and stashed the backs in the attic.  All I would have to do is remove the fabric, paint the bases back black, reattach the backs and bam ugly bar stools again.


Ta da, new bar stools and they were free.  Free is always good.


So for $10 in fabric (I used a yard on a chair bench I made) $6 for the paint, totally $16 I now have fun lake decor bar stools. Again, yay for free stuff.

Happy recovering.


LHB Kitchen table


So I loved the fabric on the bar stools and I wanted to try the bench from chairs I had seen on Pintrest.  My oldest daughter hates this thing, she doesn't get that you can now seat four people with three chairs.  Oh well,  The fabric was $4.99 a yard I purchased three yards, I cut the fabric the length wise so that I would not have to sew anything.  Fabric is usually only 45 inches wide this bench is longer than that.  These were the FREE Ikea chairs.  So for $5 bucks a chair bench.  

The table was part of a four chair purchase for $75.  The top was in bad shape, but the mechanics worked perfectly.  So I painted sanded and distressed the table to get a french country look.  If you have never done this it takes WAY longer to get a good look then you would think.  Not sure if I like it yet.  I did however learn that even if you know you want to distress something, if it is stained up you need to PRIME it or the stains will bleed through.  I know better but I didn't prime and regretted that decision.


View from Kitchen area.  I put the captain chairs up here so they would not be in the way at the big table.  We painted all the chairs denim blue.  These will all end up in the basement eventually.


Better view of the table.  Sorry I didn't take an up close look.  It fits the lake house easy feel I was going for, but I would not distress this way again.  It was very time consuming.  Many steps.  Lots of sanding.  Way to much time for a table I plan on turning into a poker table for the game room.    When my Houston house sells that breakfast room set is going in this space.


If something doesn't turn out the way you thought it would don't be afraid to do something different. That is a desk side panel from a 100 year old train depot desk on the wall.  I have seen old doors hung many times, so I said why not.  I love it and couldn't toss it out.  It was a double sided desk, I turned the top into a coffee table for the basement family room area.

This project was easy, I picked up 4 pine legs $3 each and 4 mounting brackets $3 at home depot.  Gary cut the legs down, the shortest I could get my hands on was 14 inches tall.  Too tall for a coffee table.  I stained them black so they didn't clash with the 100 year old oak.  I haven't decided if I am going to put a layer of poly over the well worn top to help protect it yet.  I don't want it to get shiny, but I do think it would probably be best to have some protection.  Total cost to convert this was $24.


Happy Re-Inventing.

Monday, June 2, 2014

Finally!!!! Lake House Bliss


We have been working on this house for sooooooooo very long I never thought this day would come.  After three 2 am weekend nights we did it.  All that is left is the galley kitchen conversion & cleaning the laundry/mud room area & the garage.  But we wanted to come HOME so that is next weekend.  ** We have been working on this house since August of 2013.  Every weekend.  We are tired.. 


I think we need an RV for that RV door.  But the dark doors are sooooo much better than the cream doors we started with.  Amazing what paint can do.


I wanted the planters for some color and so no one drove over the edge.


Back yard and lake view.  I can't wait for the lake to recover from the drought.


Top level of the double level deck.


Back view of the house.  An acre on water is great for family and friends.


Entry area.  (Still missing my bench) I'll post that when I get it done.  I needed this home to be pet/grand children and adult friendly.  I wanted a simple yet clean and fun place to get away.  I wanted nothing to be so important that if it got broken I'd be upset.

One thing I dislike about this home is that the kitchen is directly off the front door.  But it is a GREAT big kitchen.  Lots of room for a family of cooks.


Huge kitchen with great counter top space, screams summer buffets.


Great little breakfast area off the kitchen.


Living room, and this room has a great stone fireplace that I didn't get a photo of.  Not sure why.  Who knows what I was thinking?  I was tired and wanted to come home.


Master bedroom.


The master bathroom.  HUGE two person tub.


There is a second bedroom on the main level.  That is a queen bed for guests.


The second bedroom shares this bath with the main level.


Yup the bathroom door is the one with the figures.  I liked them, thought they were super cute.  Let's go upstairs and check out the loft bunk room.


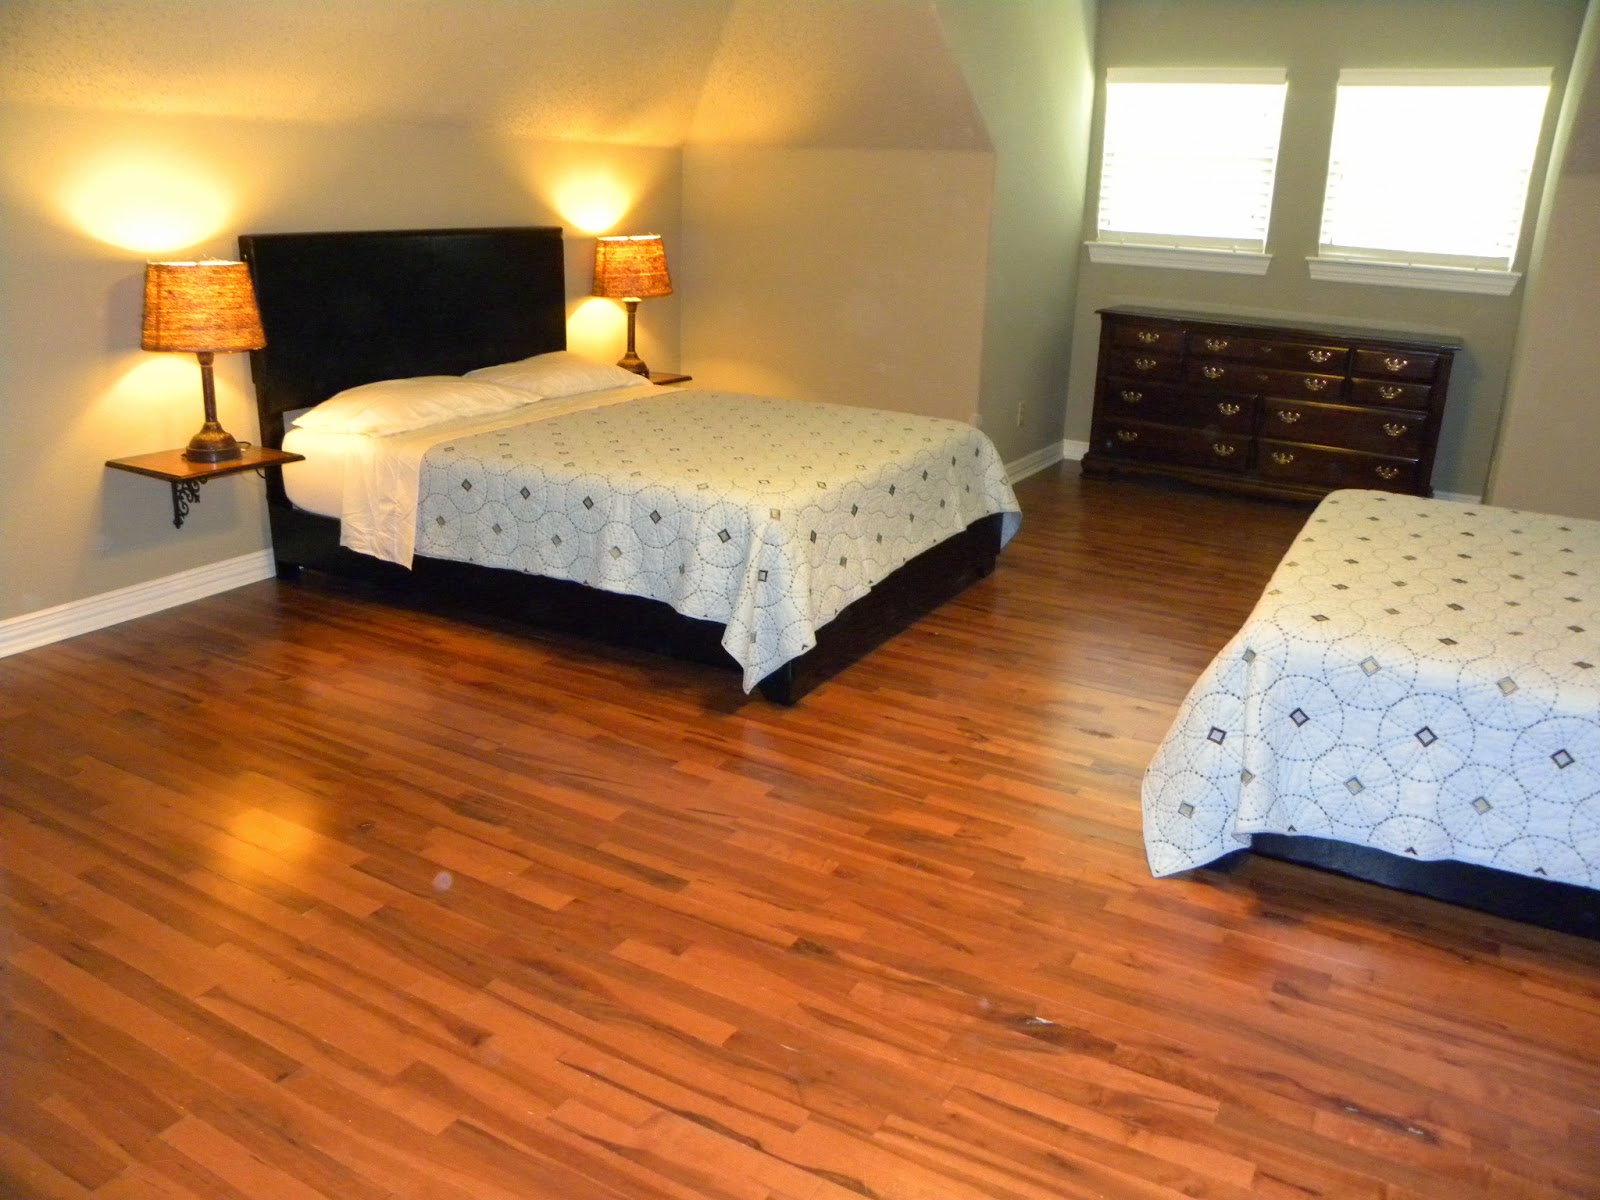
Two queen beds in this room with room for two queen air beds.


Welcome to the Family room. Dog door for the four legged children to come and go as they please.


The sofas that flank the pool table fold down into full size beds.


Plenty of seating for the family room area.  But who has time to sit in front of the flat screen.


Country table that seats 20+.  I believe that if you are going to do a family vaca you need to sit and eat together.  This is right off the galley kitchen. (we have not done that yet.. I'll post the convert)


Basement full bath.


This might be my favorite bedroom.  IT has only an interior room window.. Don't ask because we didn't build this house.  Therefor we have NO idea why?  (well, actually I do, you need two egress options to call a room a bedroom)  I digress, it is a DARK room and I love to sleep in dark rooms.  I may be part vampire.  ha


5th and final bedroom, this room has a lake view.  Both rooms are huge and have enough room for addition sleeping needs.  ie crib, air mattress for children.


I look forward to many great family memories in this lake home.


Happy Vacations.


LHB White bed


I picked this bed up off Craigslist for $60.  Other than it was filthy there was nothing wrong with it.  I leaned it up against a ladder and washed it down.  I just sprayed 409 on it and used a rag and a bucket of water.  Then I sprayed it down with the hose.  It is in great shape, I am leaving it alone.  Honestly I  Love this.  I wanted to convert it over to a platform bed. I didn't have a box springs, and it is next to impossible to get a hold of one without the purchase of a mattress.


Okay sorry I lost a bunch of photos for this blog post.  The lamps are the lamp post.  I converted the bed to a platform bed with 4- 2x4's with 1- 2x2 cut and screwed to the boards for legs then a piece of plywood over the top of that.  I did two legs on each board across the frame.  I know that the bed seems low but I couldn't change the brackets on the bed frame.  I did take photos of the bed construction I just can not find them.  I am bad about cell phone shots, and my phone is really old and moody.

Here are more of the lost photos.. Sorry!  -The night stands are a coffee table that I picked up for $40 and Gary cut if half for me with the table saw.  I painted them off white.  I mounted a piece of 2x2 (all I had left over from bed frame legs a 1x2 would have totally worked as well) to the wall them screwed from the bottom into the table to hide all the screws.  Poof open airy night stands.  Don't be afraid to convert things.


Happy converting.

Hotel lamps

Okay since the purchase of the lake house I have been a Craigslist junkie.  I surf almost daily for missing items.  I am on a tight budget and we had a deadline.  I will admit I love projects.

So when I learned there was a Hotel clearance place I was crazy excited.  I thought I would pick up missing dressers and nightstands.  Well I was wrong about the furniture.  That was cheap particle board junk in bad shape.  But I did find lamps.  Wish I would have found these first I would have put them in all the rooms.  A plug.. Why don't all lamps have a plug?  I picked up these lamps for $15 each with the lamp shade.  Again, Plugs in the lamps do I need to say anything else.


The lamp shades were in bad bad shape.  I knew I wanted to wrap them in jute rope.  Here is where I learned that not all glue is equal.  You can't see it but the blue label glue left yellow-orange everywhere.  I had to stain the shades to cover the glue marks.  My trusted gorilla glue left no glue residue.


One finished.  You can see the bent up unwrapped shade against the wrapped shade.  I honestly like the muted light as well.  I had to trim the shades when they were done.  The rope has stray "hairs" I like the rough look but I did need to tidy it up. 


Sorry you can't see the yellow marks.  They are bad.  I need to change the setting on my camera.  I am going to mess around with photos in a blog.  I know how to do it it is just remembering to do it.  Bad thing with a digital camera is that I look at the screen and don't check the actual photo.  My bad.


The stained shades.  I will never get that glue again.  Lesson learned.  This is the bunk room, it is an attic room the ceiling are low and there is very little wall space.  I want to decorate this room but not sure what I am going to do with the limited wall space.


They look great.  Left shades are stained and the right are just the jute/sisal rope.


Happy shade covering.

The RV truths

So I will be the first to tell you I was overtly naive about RVing, there are things that are just outside the normal thought proc...